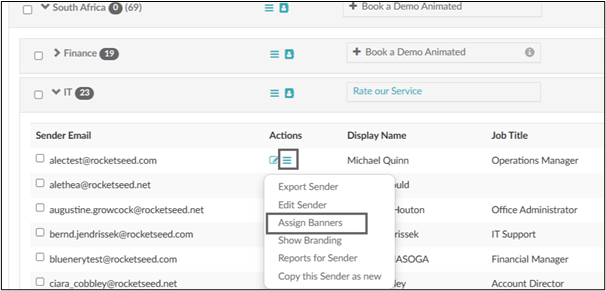
To assign a banner or banners to a group within the Sender or Receiver hierarchy, select the “Assign Banners” option from the relevant group’s hamburger menu.
To assign a banner or banners to an individual user/recipient within the hierarchy, select the “Assign Banners” option from the relevant user/recipient’s hamburger menu. Note assignments at individual level will take precedent over a group assignment.
The list of all the available banners and the groups they are in will be shown in a hierarchy. Expand the hierarchy using the ‘+’ until you see the banner or banners you want to assign as shown below.
Click the checkbox for each banner you want to assign, the banners will then become highlighted so you know which are going to be assigned (if a template is already selected it means it is already on rotation/live).
The default assignment dates are from the current date and time without end. If you want the assignment active immediately, click the “Save” button.
Banner Assignments Types
Dates If you want your template assignment to start on a future date, or have a specific end date, expand the “Set active dates” section.
You may now enter a start and end date, or change the start date and leave the end date unset.
Click the “Save” button and your banner assignment(s) will be saved.
End After Impressions This allows you to select the number of times you’d like a banner to be sent. Eg: if the banner has branded 10 emails (10 impressions), the banner will be deactivated.
End After Repeats If you’ve scheduled a banner to go live weekly on a specific day and you want it to stop after a certain number of repeats.
This example shows a banner being live for 12 weeks every Wednesday.
Repeat Options
These options allow you to select the frequency of the banner activity (e.g. Daily, Weekly, Monthly, Yearly). If required the amount of repeats can also be stated.