Rocketseed receiver rules mean you can target specific customers, suppliers, or even your own internal colleagues with relevant targeted messaging.
The Receiver section of the interface can contain the individual email addresses or domains of all the people with whom your senders communicate. These contacts can be organised into groups to allow for specific branding to be applied, allowing you to target any of the email recipients with specific banners. You can target entire domains, or individual email addresses. If you route your internal messages via Rocketseed you can also target your own domain and colleagues for internal communication purposes. Please note that once someone is automatically placed into the Recipient group they will be served the banners you have assigned to this group only. We recommend that when your Campaign has finished you re-assess the Receiver group as you may then want them to see all the new wider range of banners going forward.
Creating a domain group
Using the people toolbar on the left, navigate to the Receiver’s section.
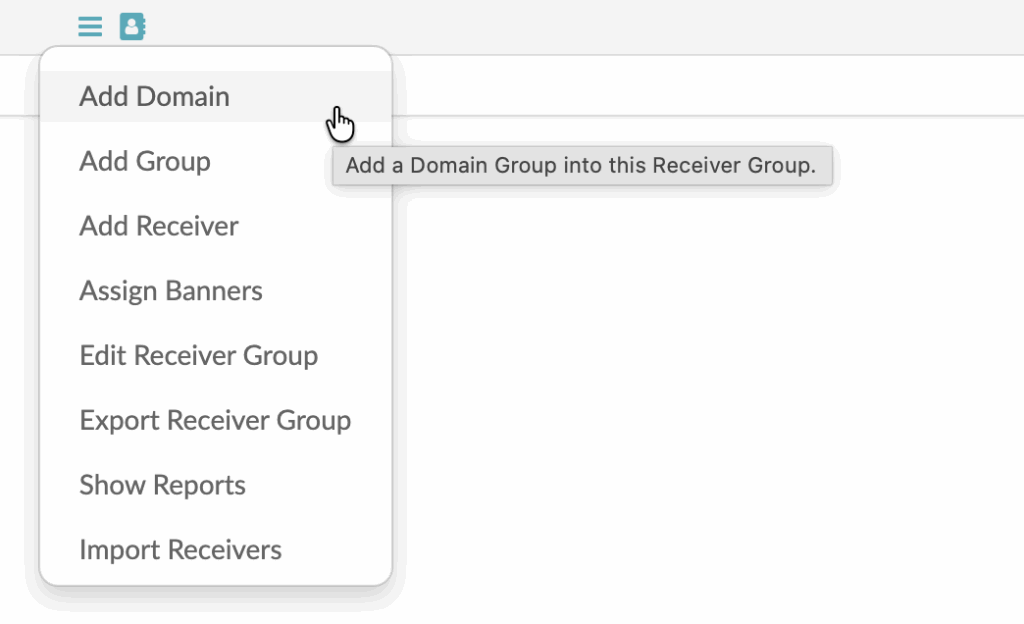
Using the hamburger menu to the right of the Receiver section select the “Add Domain” option from the menu.
This will open an “Add Receiver Domain” for your new domain group, Insert your domain name starting with @ eg: @rocketseed.com and select the “Save Domain” button.
Once the new domain is saved you can click on the hamburger menu to the right of the saved domain and select “Assign Banners” to activate targeted domain banner campaigns.
NB: Domains are a group of receiver email addresses using the same email domain (e.g. @domain.com). This allows you to segment the receiver database by adding a domain rather than having to manually add each recipient address for that domain (e.g. bob@domain.com)
Creating a receiver group
Using the people toolbar on the left, navigate to the Receiver’s section. Using the hamburger menu to the right of the Receiver section select the “Add Group” option from the menu.
This will open an “Add Receiver Group Page” for your new group name and will have a “Save Receiver Group” button that will allow you to save your new sender group.
The page will then refresh showing your new group in the hierarchy. Click on the hamburger menu to the right of your new group and select “Import Receivers”. You can use this option to import a csv file of individual email contacts only.
Choose a CSV file to upload and select the “Upload” option to import the list recipients.
Once the list is uploaded select the “Receiver” option on the “What to import” section so that the list is imported as a receiver list.
On the “Where to put it” section select the group that you have created and tick the “MOVE people into import groups”
The below option allows you to override and set default for the recipients. Click on the submit option to import the data.